


The Language of Visual Storytelling: Shot Sizes
In our last issue we started discussing camera movements, and how using the right one can add a powerful layer of emotional connection with the spectator.
We also got to know and use our first 2 camera movements: dolly in and dolly out.
I’ll be teaching you more camera movements and exactly when to use them to enhance your story’s emotional impact really soon…
But today we’ll be focusing in another key ingredient of visual storytelling: Shot Size.
Let’s start our discussion with a review of a closely related concept we’ve look at in the past: the concept of “framing”.
A “frame”, in cinematography, refers to one single picture or “still”, just like we explained in this issue.
Every film is made up of many “frames” projected in fast succession, giving us the illusion of movement. In cinema, the speed at which these frames are presented to the viewer is usually 24 frames per second (FPS).
The concept of frame is really important in AI Filmmaking, because we’ll usually use a “first frame” or “starter frame” in order to control the video generation and produce better results when using AI video models.
Some cutting-edge AI video generation tools also allow us to provide an “end frame”, or even intermediate frames, which gives us a lot more control over the final video clip being produced.
As Directors, everything that give more creative control over the scene is excellent news!
In traditional filmmaking, “framing” is the action of setting the camera in such a way as to include in the frame only the elements of the scene the director decides for this particular shot.
Framing is not only about what to include and what to leave out of “the frame” though…
A cinematographer also needs to know how to “compose” the shot to make it look, you know, cinematic.
(Don’t worry: we’ll cover cinematic composition in a future issue!)
A really important part of composing the shot is, of course, deciding on the shot size we’ll be using.
The Director carefully selects the right shot size for this specific shot to carry the emotional impact needed in the scene.
But… what is “shot size”?
The term “shot size” simply refers to how close or far away the main subject or character will be shown in the frame.
When using an actual video camera, this is usually achieved by positioning the camera at a certain distance from the subject, and selecting the right lens (like wide-angle vs telephoto, for instance).
In AI Filmmaking we don’t use cameras at all of course, but we still need to know what shot size to prompt for when we’re creating the first frame of a shot, so your knowledge of shot sizes and when each one is used is crucial!
So let’s quickly review the most used shot sizes in cinematography:
Extreme Wide Shot (EWS): Shows a vast landscape or setting; the subject is small or insignificant within the frame. Establishes location and scale.
Wide Shot (WS) / Long Shot (LS): Shows the subject's full body within a broader environmental context. Establishes the scene and the subject's relationship to it.
Full Shot (FS): Frames the subject's entire body from head to toe, with less emphasis on the background than a WS/LS. Focuses on action and body language.
Medium Wide Shot (MWS) / Medium Long Shot (MLS) / American Shot: Frames the subject from roughly the knees up. Balances subject visibility with some environmental context.
Cowboy Shot: A variation framing from mid-thigh up, historically used in Westerns to include gun holsters.
Medium Shot (MS): Frames the subject from the waist up. Common for dialogue scenes, balances facial expression with some body language.
Medium Close-Up (MCU): Frames the subject from the chest or shoulders up. Focuses attention on facial expressions and emotions.
Close-Up (CU): Fills the frame with the subject's face. Emphasizes emotion or highlights significance.
Extreme Close-Up (ECU): Frames a small detail or facial feature, such as the actor’s eyes or mouth, or their hand. Creates intensity and intimacy.
Insert Shot (CU or ECU): This is just a close-up or a extreme close-up of an object or detail that's relevant for the story, like a ticking bomb timer, a meaningful photograph or a mysterious note.
Out of this list of shot sizes, there are 5 fundamental shot sizes that you should master first:
Extreme Wide Shot (EWS) / Extreme Long Shot (ELS): Shows the environment on a massive scale; subject is tiny or not even visible.
Wide Shot (WS) / Long Shot (LS): Shows the whole subject head to toe, with a good amount of their surroundings.
Medium Shot (MS): Shows the subject from about the waist up. This is super common for dialogue.
Close-Up (CU): Fills the frame with the subject's face or a specific, important detail.
Extreme Close-Up (ECU): Gets in super tight on just a part of the face or a tiny detail.
That’s it.
That’s your cheatsheet!
Now let’s test them out!
This is the base prompt I’ll be using:
Background: a busy Kyoto street, deep focus.
Foreground: a gorgeous 27-year old Japanese woman walking to the camera. She has a beautiful face and long black hair with exquisite ornaments, and is wearing a traditional kimono. The kimono is beautiful and colorful, with delicate handmade details.
Cinematic composition. Golden Hour. Professional Photography.
This time, I’m using the “Flux 1.0 Fast” model in Freepik, which is a great All-In-One AI image and video generation platform:
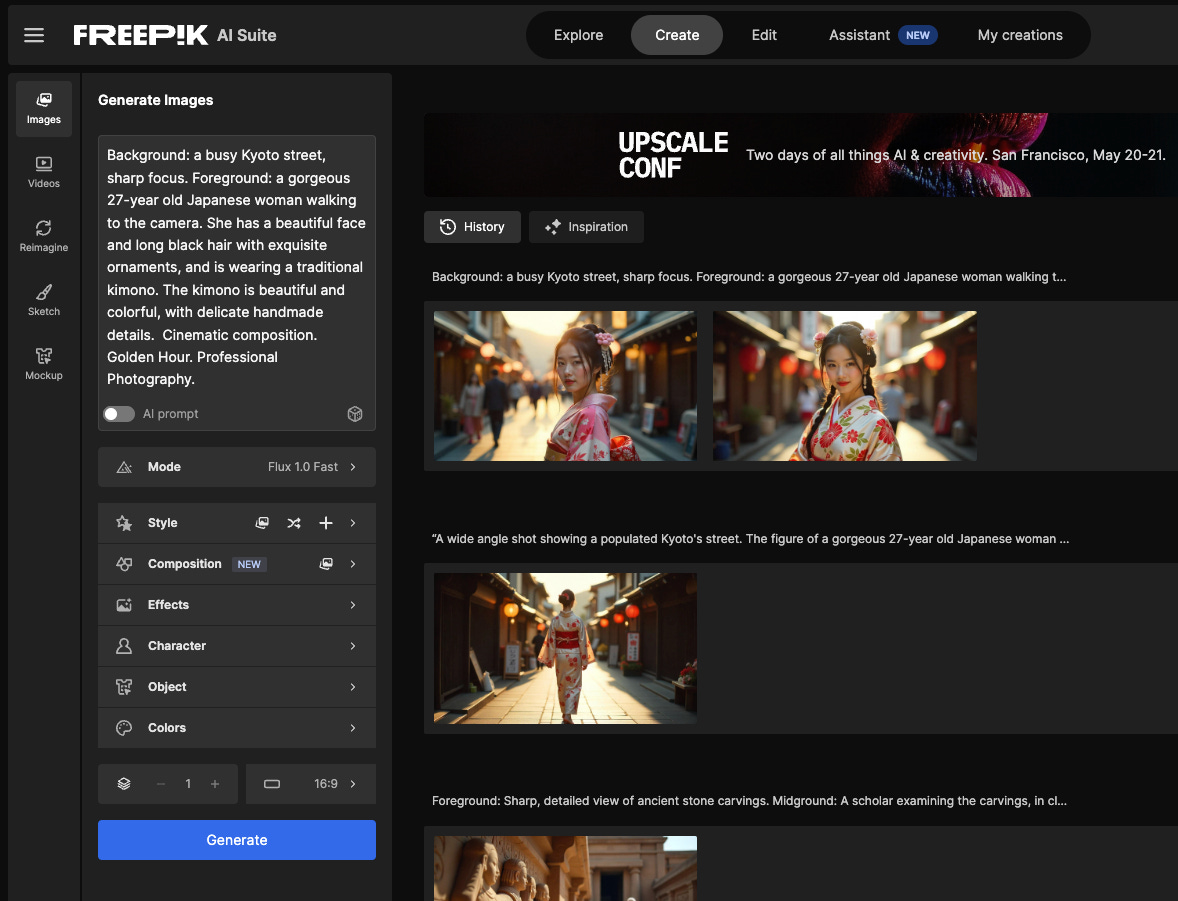
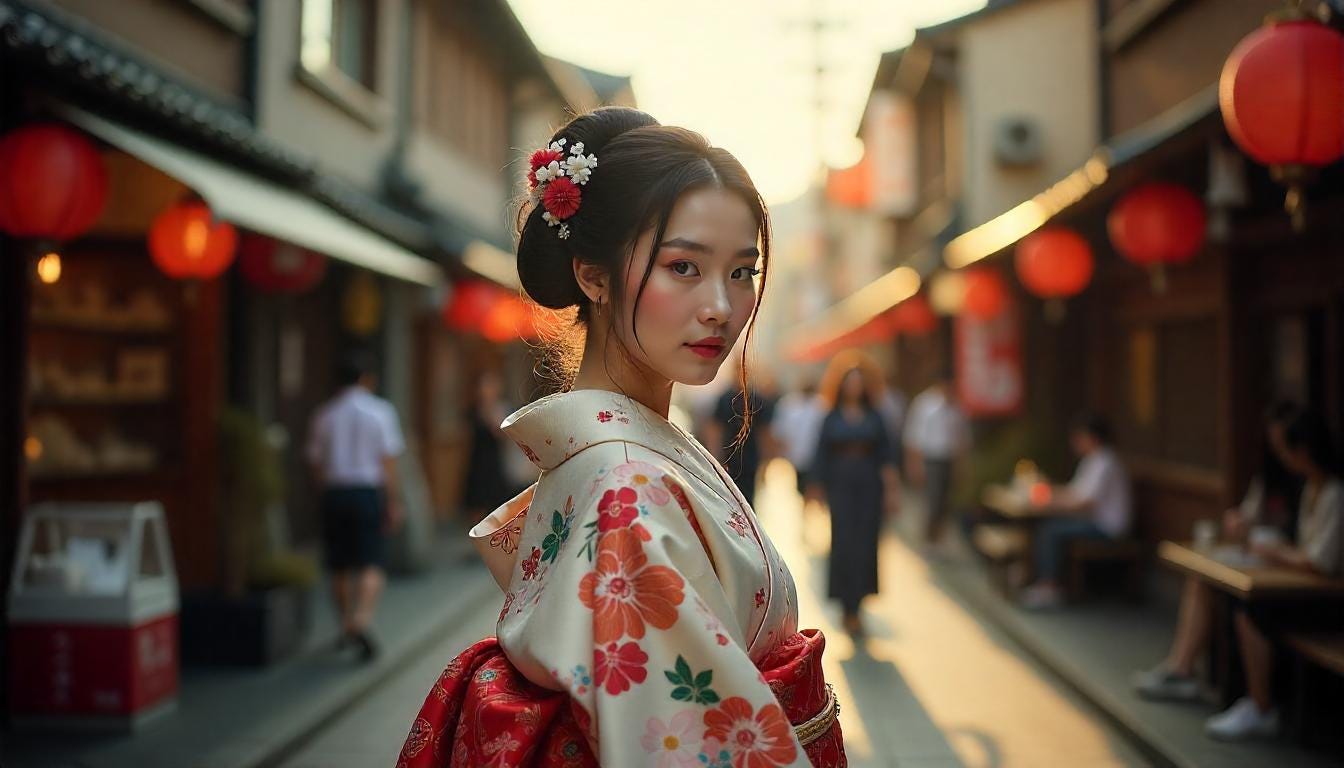
Using only the prompt above, and leaving everything else default, this is what I get:
Not bad, considering we provided ZERO direction, and we’re using the cheapest and lower quality model on the platform!
Based on the prompt provided, Flux decided that the best way to show all the details we asked for is with a Medium Shot (MS).
Let me run that again with Flux 1.1 this time:

Honestly, I like the generations from Flux 1.0 Fast much better. This one doesn’t look realistic at all, it’s way too stylized.
Also, let’s not forget that Flux 1.1 is 10x more expensive than Flux 1.0 Fast!
That’s why I usually stick to the Flux Fast model, especially during the ideation phase.
So let’s switch back to the Flux Fast model and add some creative direction to the prompt…
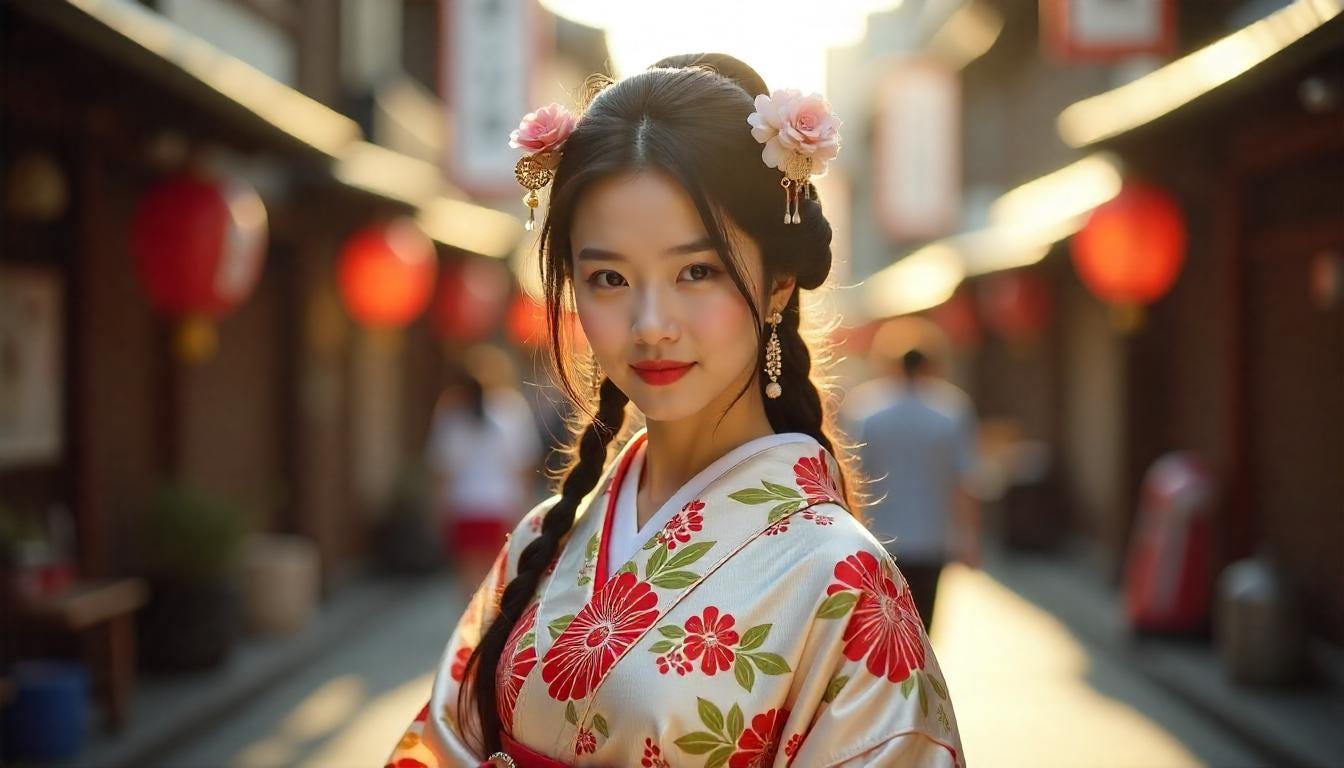
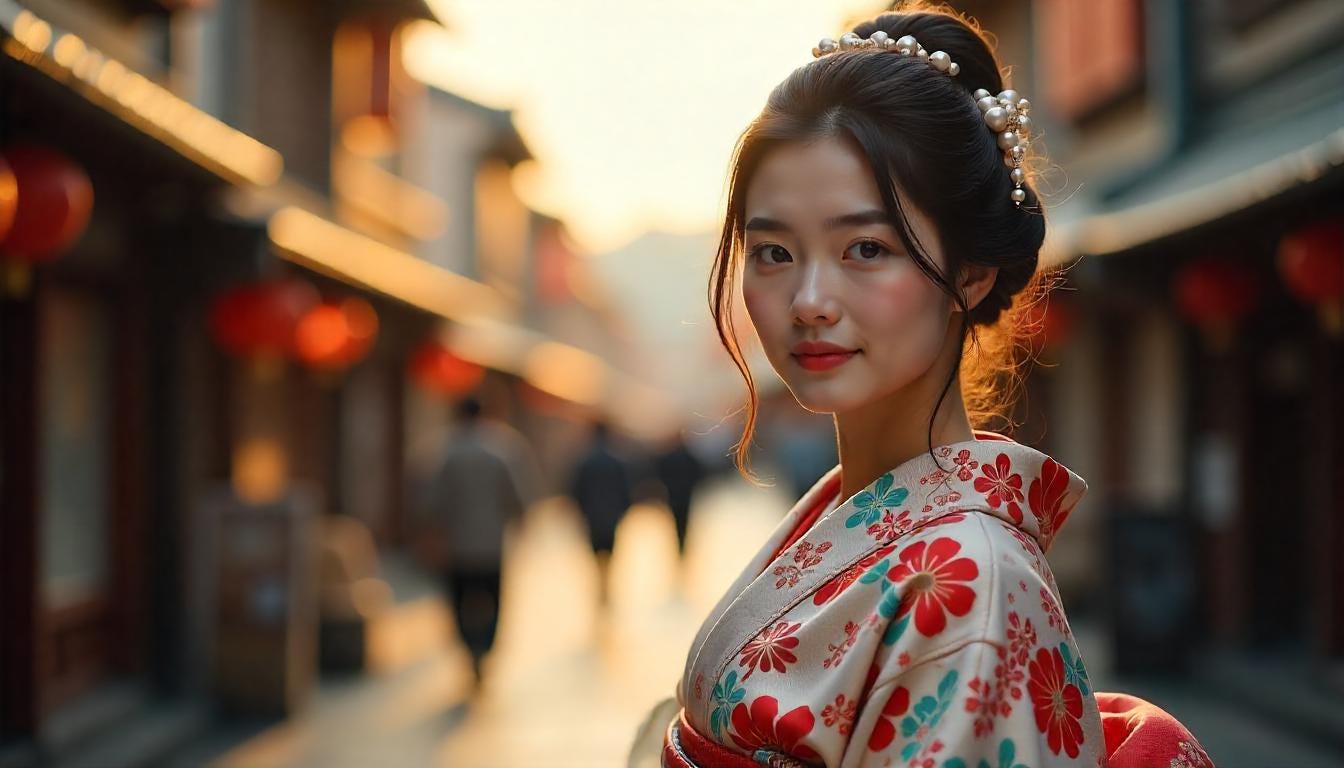
We can start with one of the most common shots: a Medium Close Up (MCU).
As a reminder, this is a shot that frames the subject from the chest or shoulders up.
Background: a busy Kyoto street, deep focus.
Foreground: a gorgeous 27-year old Japanese woman walking to the camera. She has a beautiful face and long black hair with exquisite ornaments, and is wearing a traditional kimono. The kimono is beautiful and colorful, with delicate handmade details.
Medium Close-up Shot. Cinematic composition. Golden Hour. Professional Photography.
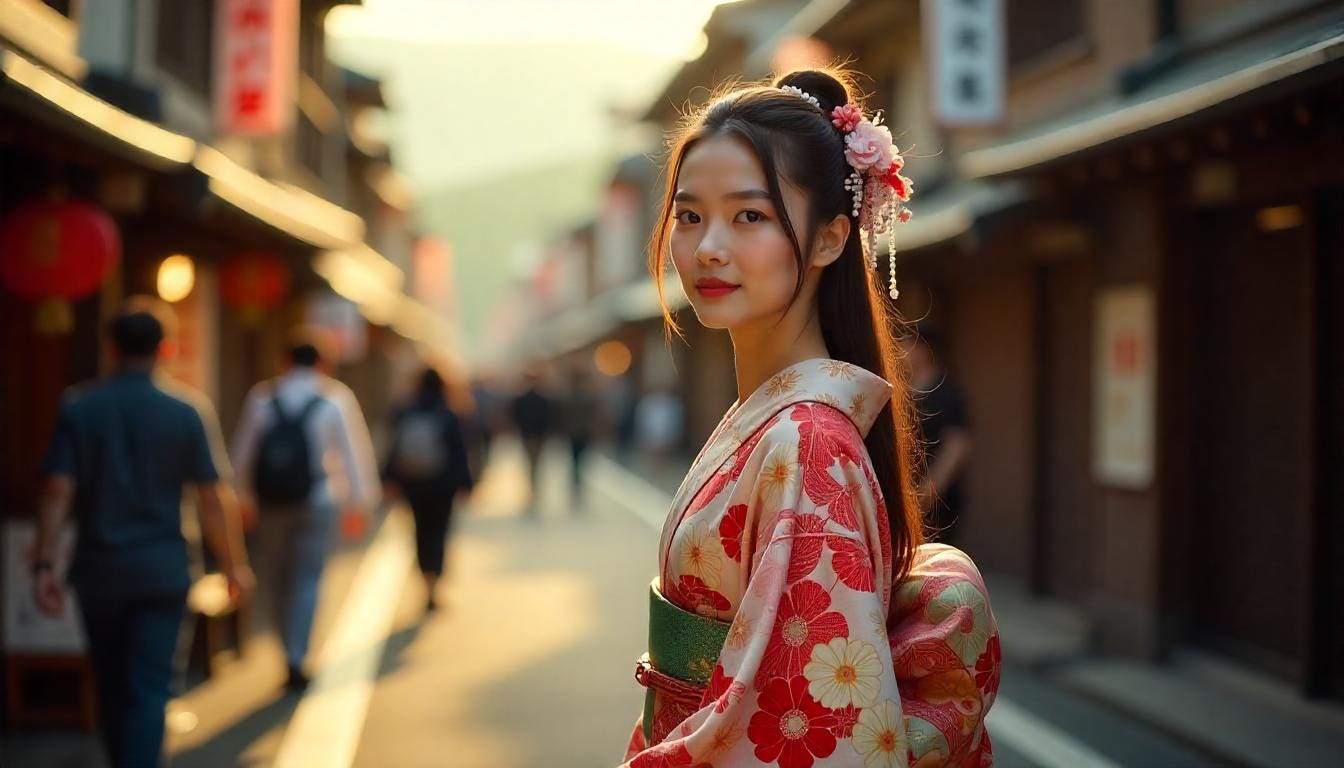
We get this:
As you can see, this time we get a slightly tighter shot, which is kinda in between a Medium Shot and a Medium Close-Up.
It’s posible that the model –or I– got a little confused because of the kimono though, so I’ll let this one pass…
The main problem I see with this image is a well-known problem of Flux models: they have a strong bias toward always using a Shallow Depth of Field (also know as “bokeh”) in all images the model sees like portraits.
This is likely due to the dataset used to train these models, and is pretty difficult to override using only prompts.
So we’re not going to worry about that today. We’ll deal with this issue another time…
Let’s now tweak the prompt to try to get a Close-Up:
Background: a busy Kyoto street, deep focus.
Foreground: a gorgeous 27-year old Japanese woman walking to the camera. She has a beautiful face and long black hair with exquisite ornaments, and is wearing a traditional kimono. The kimono is beautiful and colorful, with delicate handmade details.
Close-up Shot. Cinematic composition. Golden Hour. Professional Photography.
As you can see, no much happens.
The issue is that Flux models –and other image generation models, to be fair– are not really trained to follow direct instructions regarding shot size or other cinematography directives.
Flux models don’t pay too much attention to isolated keywords like some older models such as Stable Diffusion do.
Instead, Flux expects detailed descriptions of the different elements in the frame, written in fluid, natural language, with no commas nor keyword stuffing.
Because of that, it’s much more important to be more verbose and describe what’s in the frame in detail.
It’s also recommended to describe the background and the foreground separately.
If we include a reference to a face in the prompt, we’re likely to get, as before, a medium close up.
This happens because the model the model interprets that it needs to get closer to the subject to show the details of the face.
For the same reason, as we also described the kimono in our prompt, Flux is sticking to that medium close up in order to be able to show the kimono details we prompted for.
All of these little nuances make getting certain shot sizes consistently really tricky.
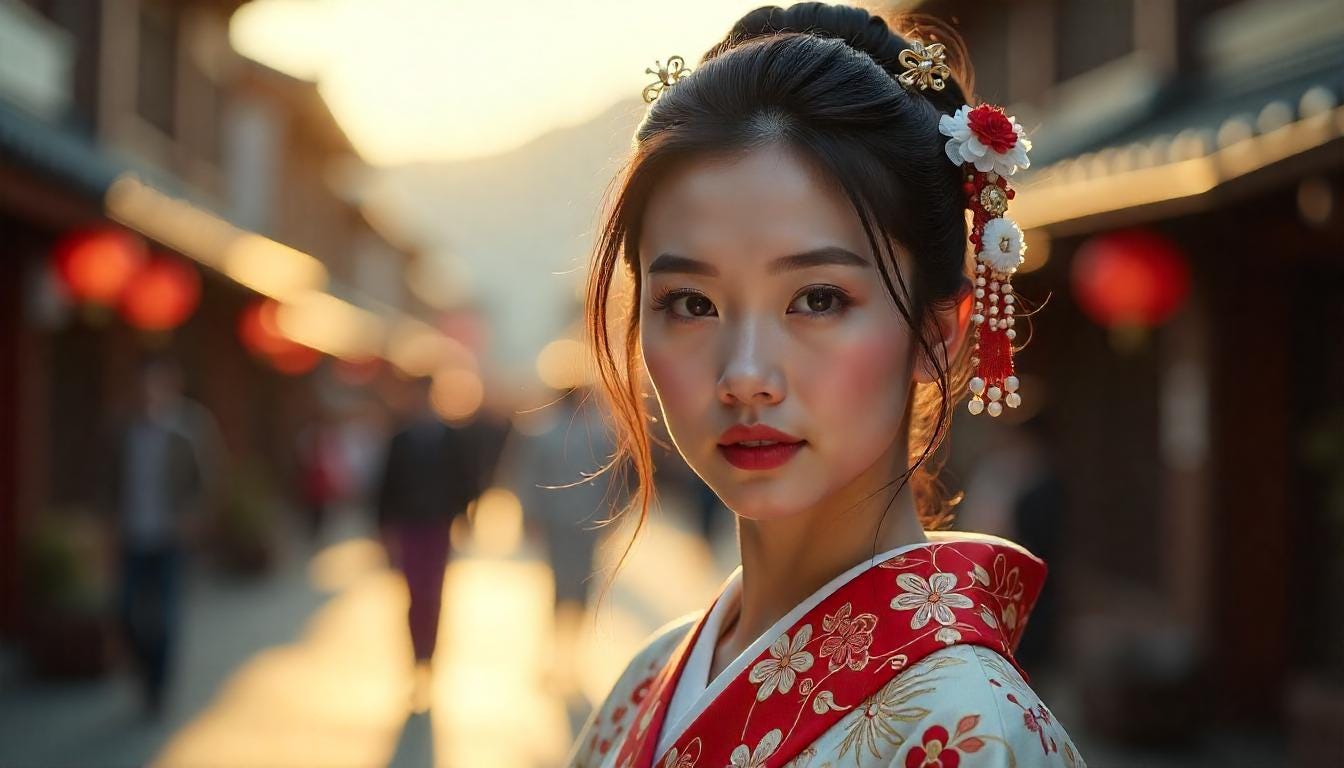
Let’s modify the prompt every so slightly, to see the effect:
Background: a busy Kyoto street, deep focus.
Foreground: a close up on the face of a gorgeous 27-year old Japanese woman walking to the camera. She has a beautiful face and long black hair with exquisite ornaments, and is wearing a traditional kimono. The kimono is beautiful and colorful, with delicate handmade details.
Cinematic composition. Golden Hour. Professional Photography.
The result:

This is a little tighter, but still a medium close-up (from chest or shoulders up)
Let’s push it, and ask for a extreme close-up now:
Background: a busy Kyoto street, deep focus.
Foreground: an extreme close up on the face of a gorgeous 27-year old Japanese woman walking to the camera. She has a beautiful face and long black hair with exquisite ornaments, and is wearing a traditional kimono. The kimono is beautiful and colorful, with delicate handmade details.
Cinematic composition. Golden Hour. Professional Photography.
As you can see, we’re still in medium close-up territory:
Let’s make our prompt more precise in our directions:
Background: a busy Kyoto street, deep focus.
Foreground: an extreme close-up showing only the face of a gorgeous 27-year old Japanese woman walking to the camera. She has a beautiful face and long black hair with exquisite ornaments.
Cinematic composition. Golden Hour. Professional Photography.

Slightly better, but still not a close-up, let alone the extreme close-up we prompted for,
Why?
Because, as explained before, the model doesn’t really pay attention to keywords such as “extreme close-up” or “close-up”.
The most important consideration for this model is to make sure it fits in the frame everything we’ve described in the prompt. Everything else is secondary, and in case of conflict, it will be ignored!
As we described a face, of course it will create a close-up to show the face’s details!
And as the hair is also described in the prompt, it will try its best to fit it in the frame.
So let’s forget about keywords for a minute, and describe the focus of the extreme close-up:
Background: a busy Kyoto street.
Foreground: an extreme close-up showing a gorgeous 27-year old Japanese woman’s eyes. She has a long black hair with exquisite ornaments.
Cinematic composition. Golden Hour. Professional Photography.
Notice that as I mentioned the hair, we still get a wider shot.
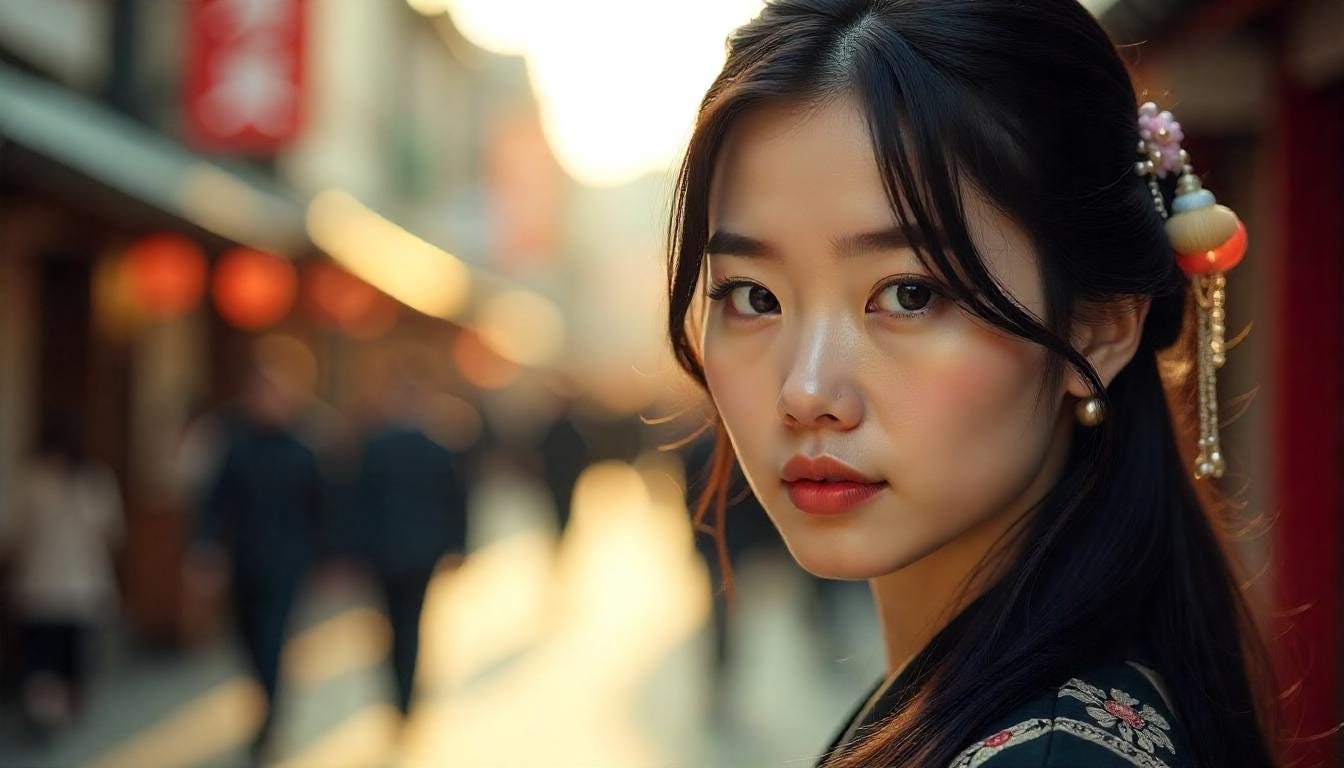
Let’s correct that:
Background: a busy Kyoto street.
Foreground: an extreme close-up showing a gorgeous 27-year old Japanese woman’s eyes.
Cinematic composition. Golden Hour. Professional Photography.
Now, that’s NOT an extreme close-up, but rather a close-up since it’s showing the entire face (something we couldn’t get before, remember?)
We’re definitively moving in the right direction…
But we want her eyes filling the entire frame.
Here is where it gets tricky, because there are other aspects of the frame composition that must be influencing this output.
For instance, we prompted for a background, and it’s unlikely that the background would be visible in an extreme close-up to her eyes.
So let’s try getting rid of the background:
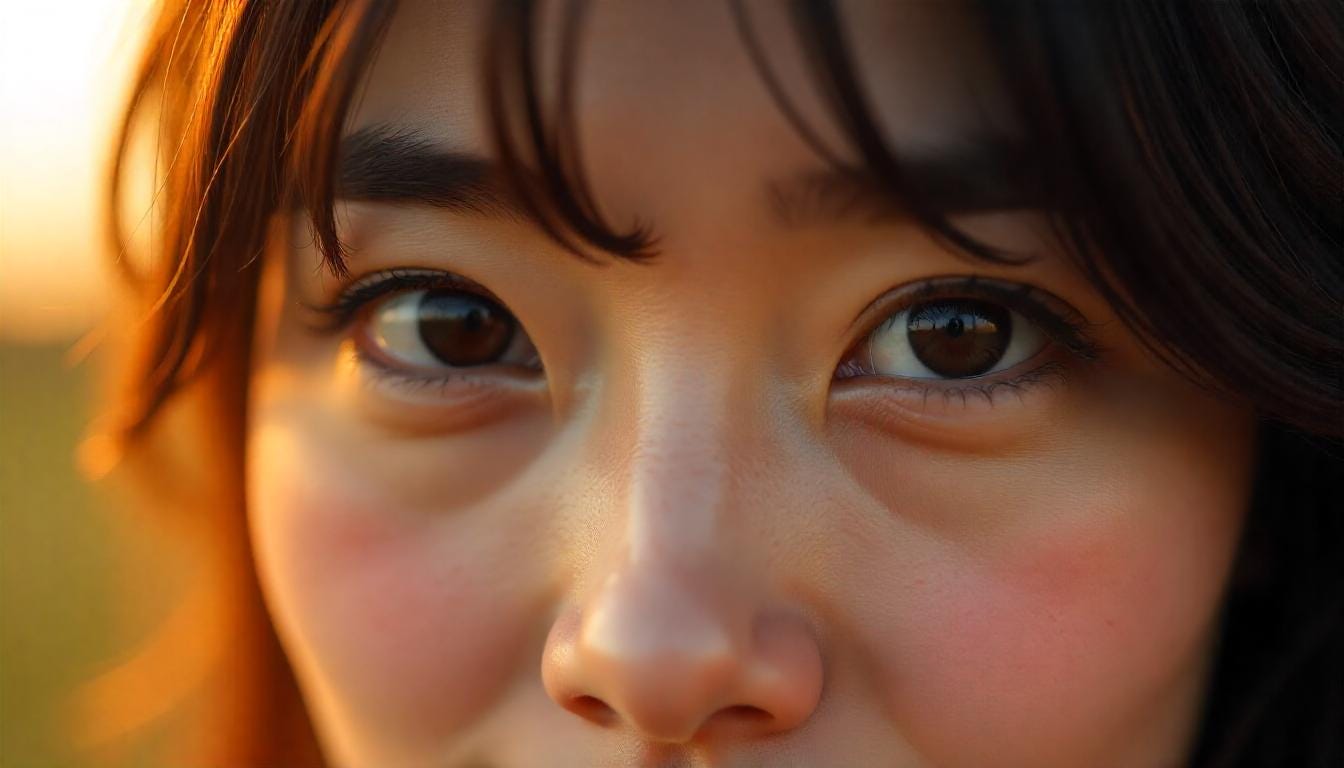
An extreme close-up showing a gorgeous 27-year old Japanese woman’s eyes.
Cinematic composition. Golden Hour. Professional Photography.

Not bad. Almost there.
But we get the Sun, likely because of the Golden Hour reference. Snd to fit the Sun in the frame, it moved her to the side.
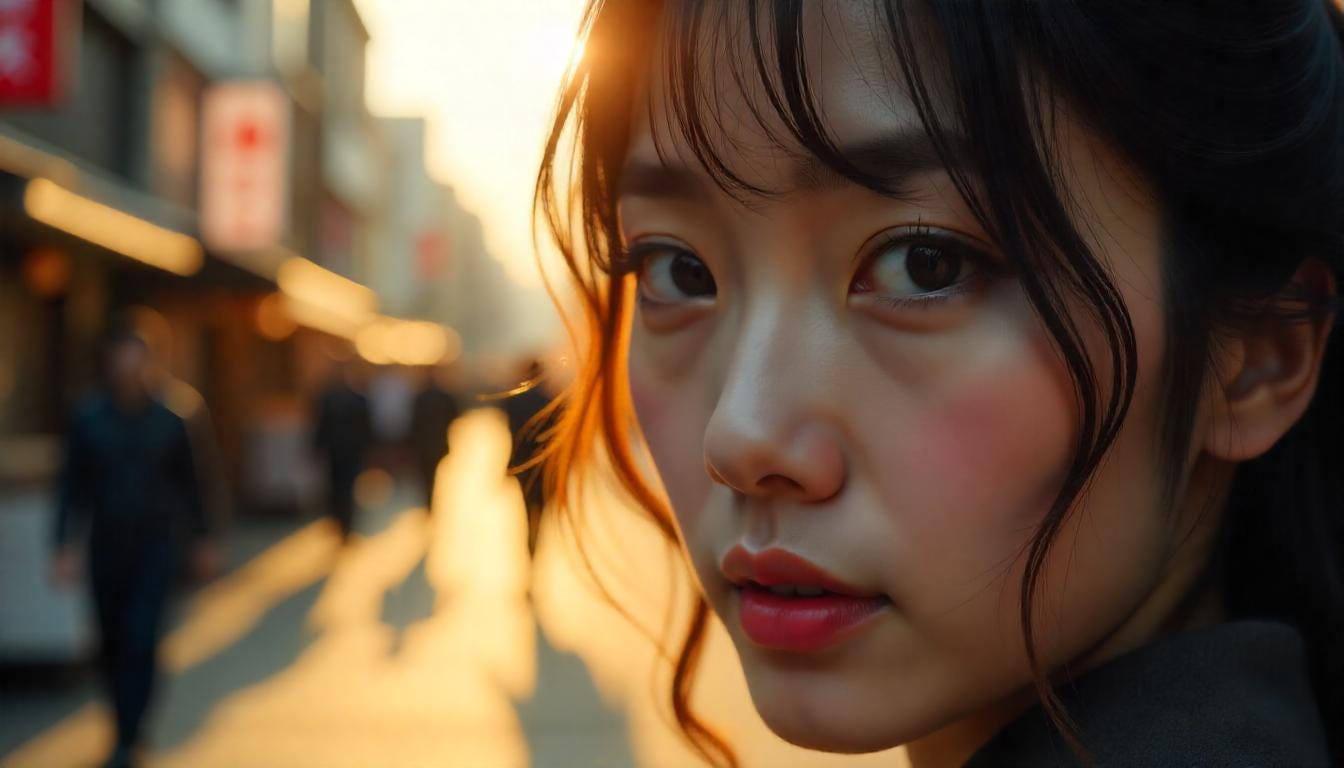
Let’s make sure to make it clear that she’s looking at the camera:
An extreme close-up showing a gorgeous 27-year old Japanese woman’s eyes as she’s looking at the camera. Her eyes fill the entire frame.
Cinematic composition. Golden Hour. Professional Photography.
Almost…
An extreme close-up on a young Japanese woman’s eyes. She's looking straight to the camera. Her beautiful eyes fill the entire frame. Cinematic composition. Golden Hour. Professional Photography.
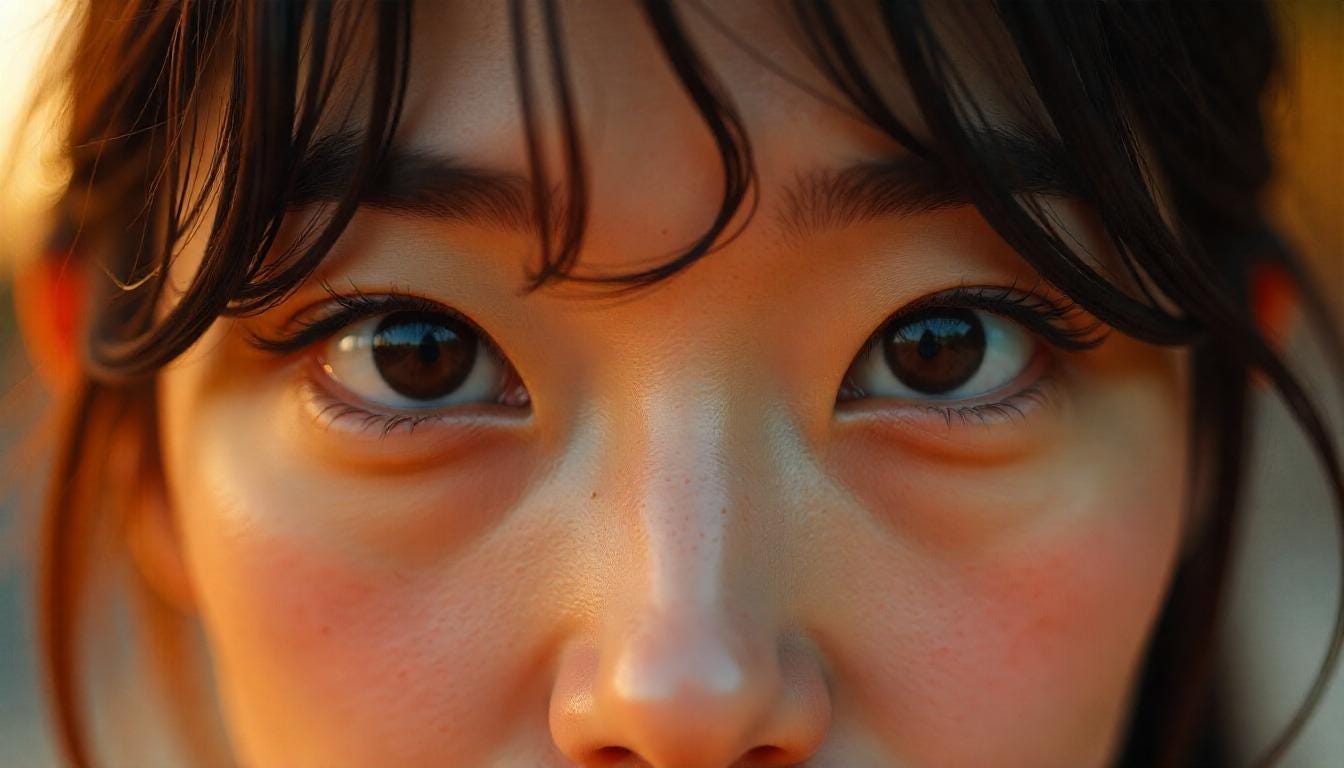
As you can see, the model insists in not getting closer than that!
Sometimes this happens: these models are not yet perfect at following instructions so in occasion we’ll need to use an external tool such as a photo editing program to get the exact framing we want.
But Flux took us 90% there!
Some image generation platforms support inpainting –the ability to regenerate portions of the image– and outpainting –the ability to extend the generated image in any direction– which can be invaluable tools for these cases.
MidJourney, LeonardoAI and even Photoshop are good examples of AI image generation platforms that support these advanced editing features.
There also exist advanced multimodal models like GPT4o and Gemini 2.5 capable of creating and, more importantly, editing images using only prompts.
This makes art direction a lot easier!
Time to try one of the trickiest shot sizes to get out of Flux: A Wide Shot!
As we learned before, Flux tends to ignore our specific instructions and keywords related to shot sizes, and always try to fit in the frame all the elements we described in the prompt.
So if we use this prompt:
Background: a busy Kyoto street, deep focus.
Foreground: a gorgeous 27-year old Japanese woman walking to the camera. She has a beautiful face and long black hair with exquisite ornaments, and is wearing a traditional kimono. The kimono is beautiful and colorful, with delicate handmade details.
Wide-angle Shot. Cinematic composition. Golden Hour. Professional Photography.
As expected, we don’t get a wide shot:
We could try to be even more specific, repeating the instruction, and even using a wide lens in the prompt:
Background: a 16mm wide-angle shot of a busy Kyoto street, deep sharp focus.
Foreground: a gorgeous 27-year old Japanese woman walking to the camera. She has a beautiful face and long black hair with exquisite ornaments, and is wearing a traditional kimono. The kimono is beautiful and colorful, with delicate handmade details.
Wide-angle Shot. Cinematic composition. Golden Hour. Professional Photography.
As you can see, this strategy is not working. The model is ignoring all of those wide-angle cues.
So let’s get rid of that, and focus instead on what we know works: describing what is in the frame.
So if we want a full shot that shows her from head to toe, we could just prompt for something like:
Background: a 16mm wide-angle shot of a busy Kyoto street, deep sharp focus.
Foreground: A full shot of the svelte figure of a gorgeous 27-year old Japanese woman walking to the camera. She has a beautiful face and long black hair with exquisite ornaments, and is wearing a traditional kimono. The kimono is beautiful and colorful, with delicate handmade details.
Wide-angle Shot. Cinematic composition. Golden Hour. Professional Photography.
No luck!
So what’s the trick to get a full shot from Flux?
As I mentioned before, this is one of the trickiest shot sizes to get with these models.
It seems like these models have been conditioned by their training data to produce a tighter shot every time there is a main subject in the frame.
However, there is something we can do if we want to make sure her entire body is in frame: we can describe her feet!
Background: a 16mm wide-angle shot of a busy Kyoto street, deep sharp focus.
Foreground: A full shot of the svelte figure of a gorgeous 27-year old Japanese woman walking to the camera. She has a beautiful face and long black hair with exquisite ornaments, and is wearing a traditional kimono. The kimono is beautiful and colorful, with delicate handmade details. She’s wearing traditional Geta sandals.
Wide-angle Shot. Cinematic composition. Golden Hour. Professional Photography.
That didn’t work!
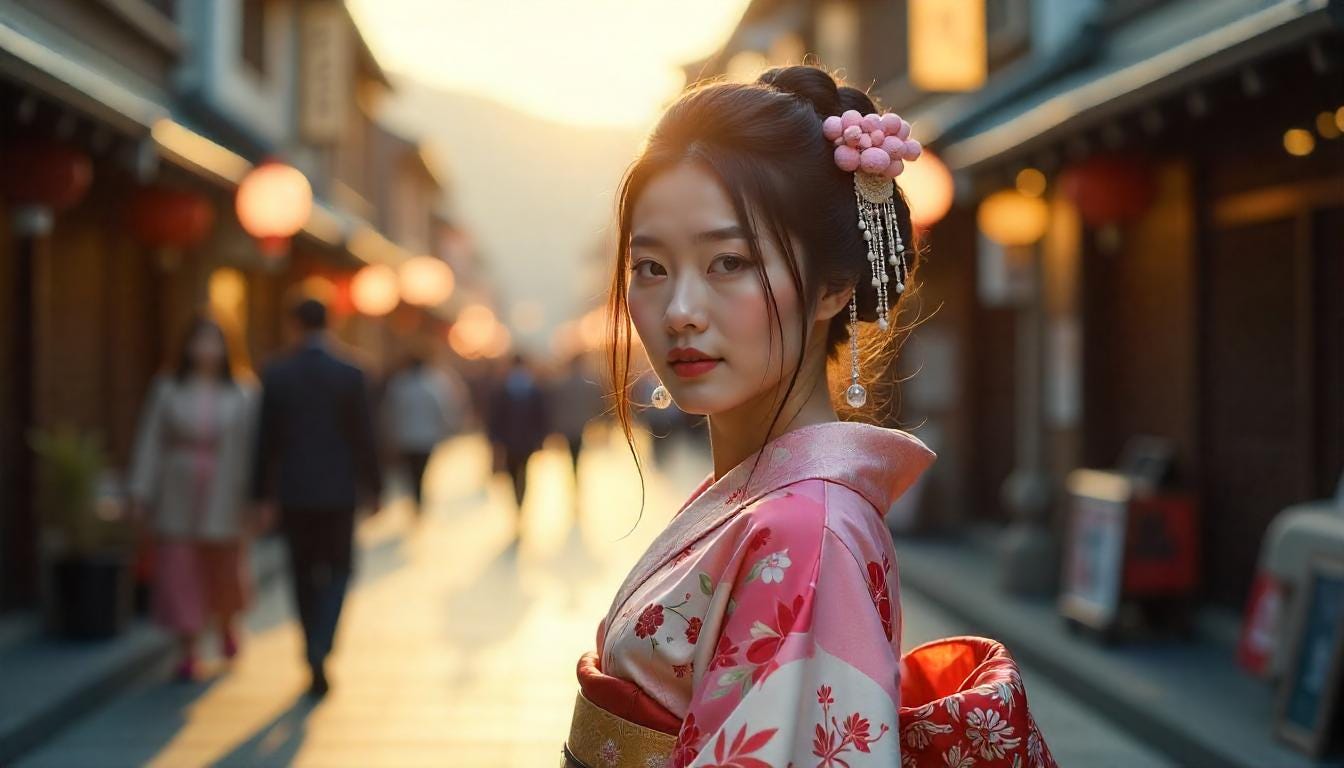
So save you time, I tried a dozen or so more variations of the prompt, and finally got to this one:
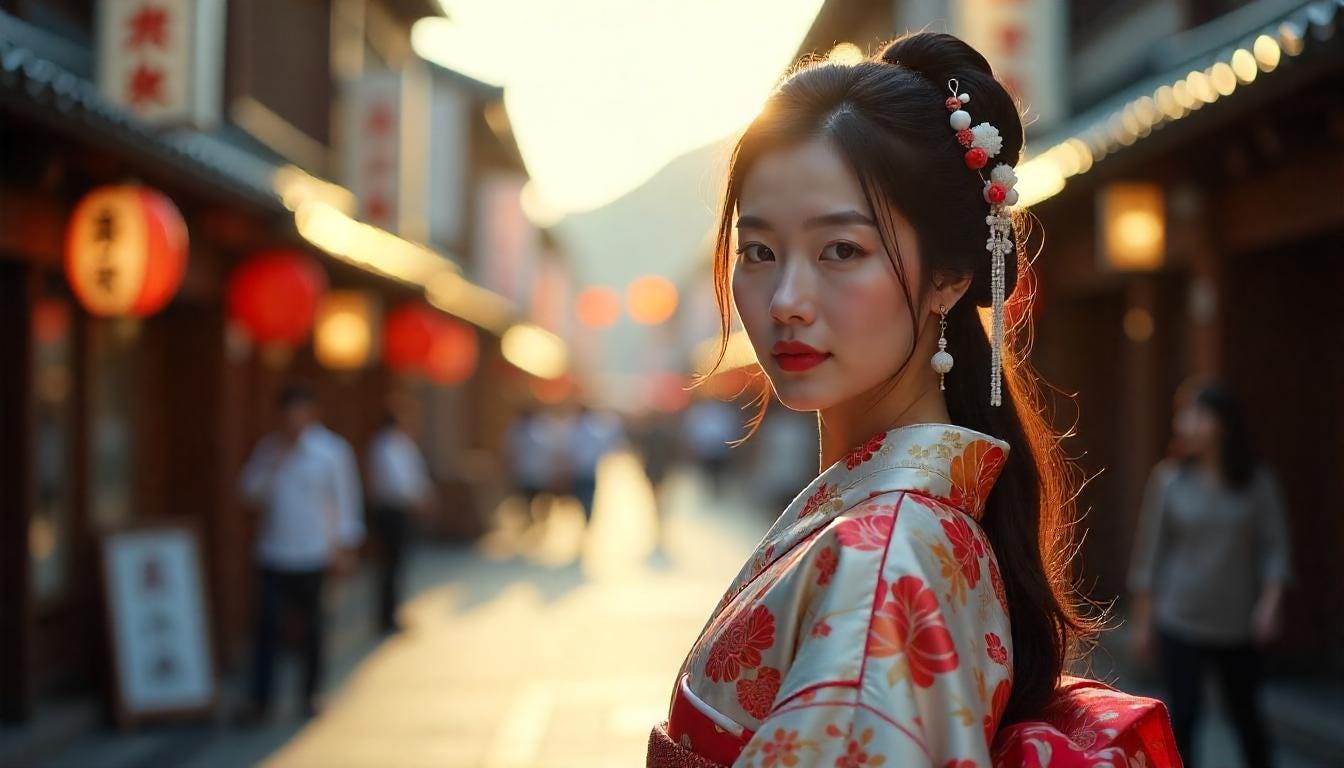
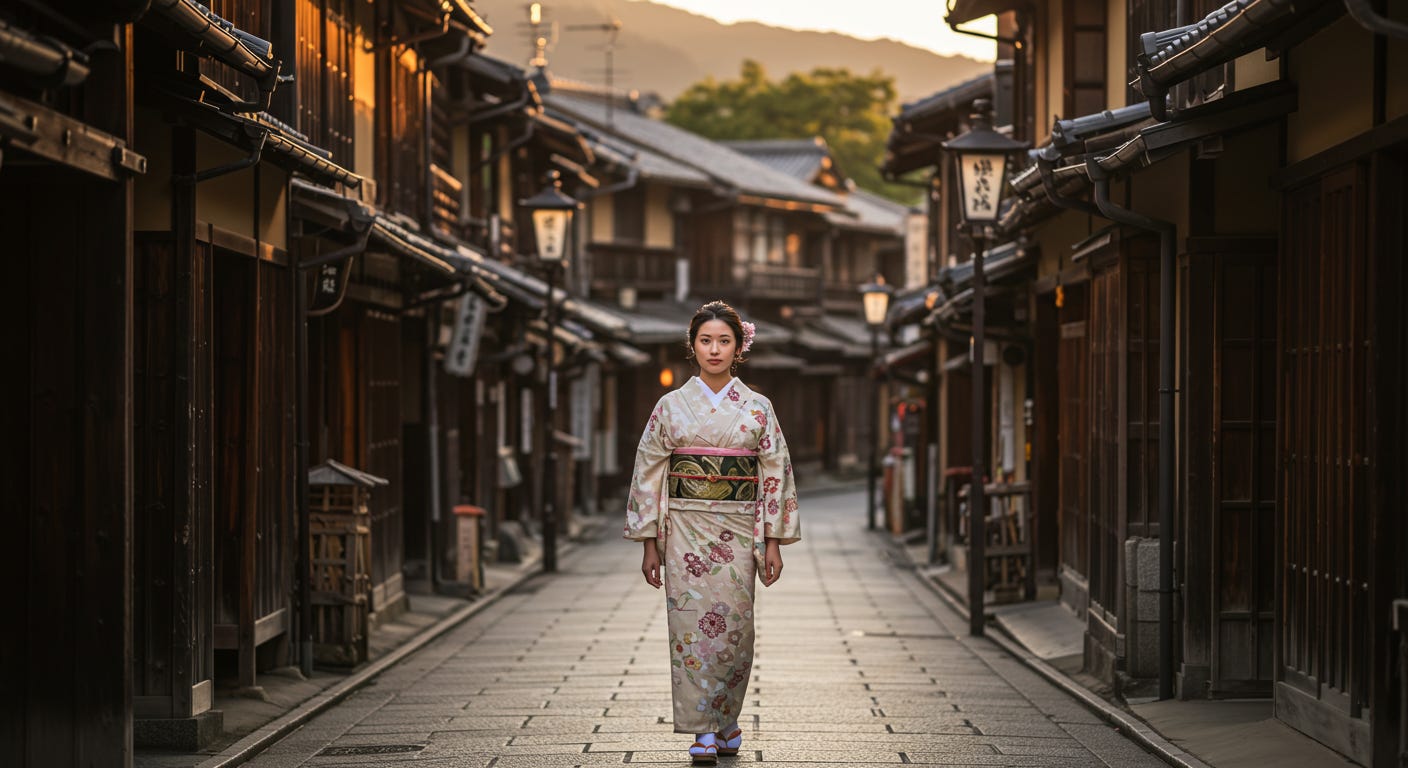
A wide angle shot showing a populated Kyoto's street. The figure of a gorgeous 27-year old Japanese woman is walking toward us. She's wearing a traditional handmade kimono, with beautiful colors and delicate details. She's wearing traditional Japanese sandals (she has beautiful feet). She's looking at the camera. Deep focus lens: everything in the scene is in sharp detail. Cinematic composition. Golden Hour, natural lighting. Exquisite detail, Realistic Professional Photography.
Here’s the result:
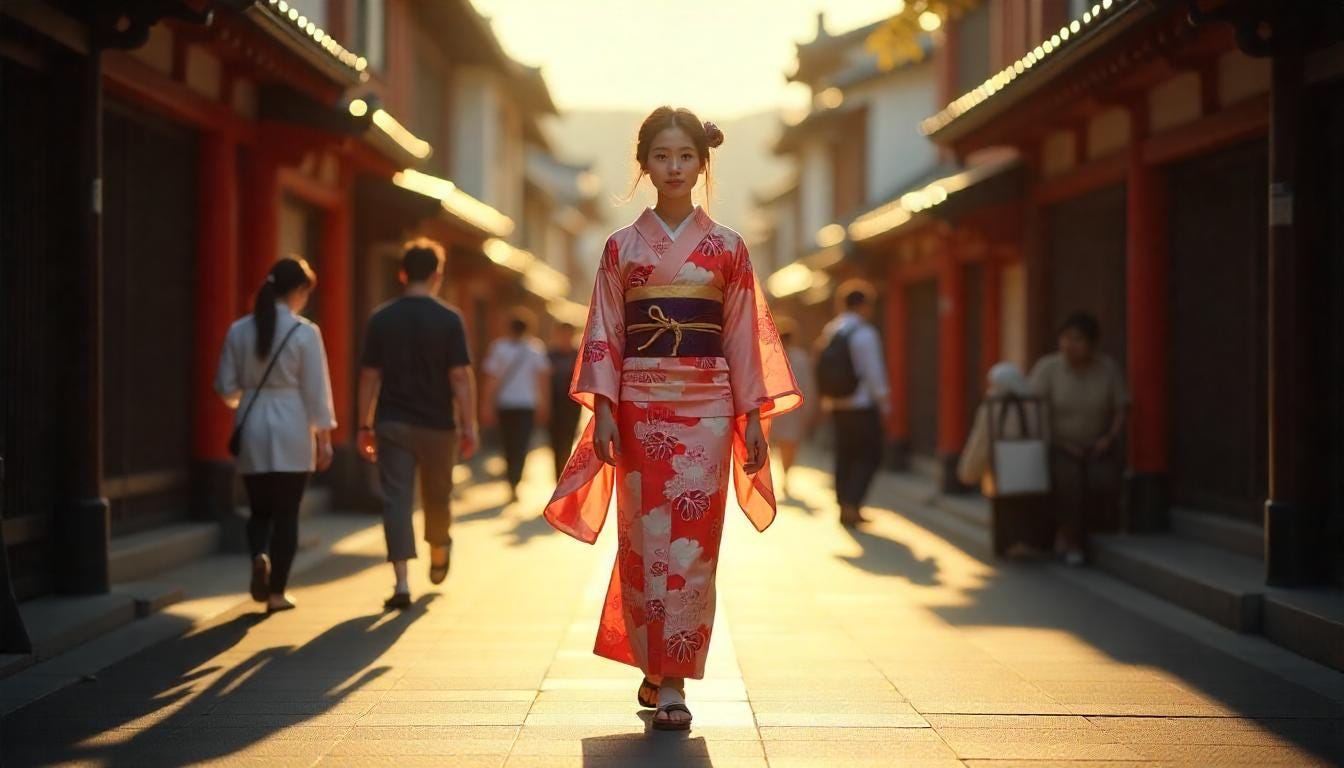
A few things worth of notice:
I had to take out the reference to her face, because every time we add the face to the prompt we get a medium close-up.
Unfortunately, the level of detail in the face and feet are pretty bad.
A lot of times when getting a long shot flux will make the character present us their back, no matter how many times you include things like “walking toward the camera”, “looking at the camera”, etc.
You might have to roll this prompt a few times to get this shot with her looking at the camera. It’s really inconsistent!
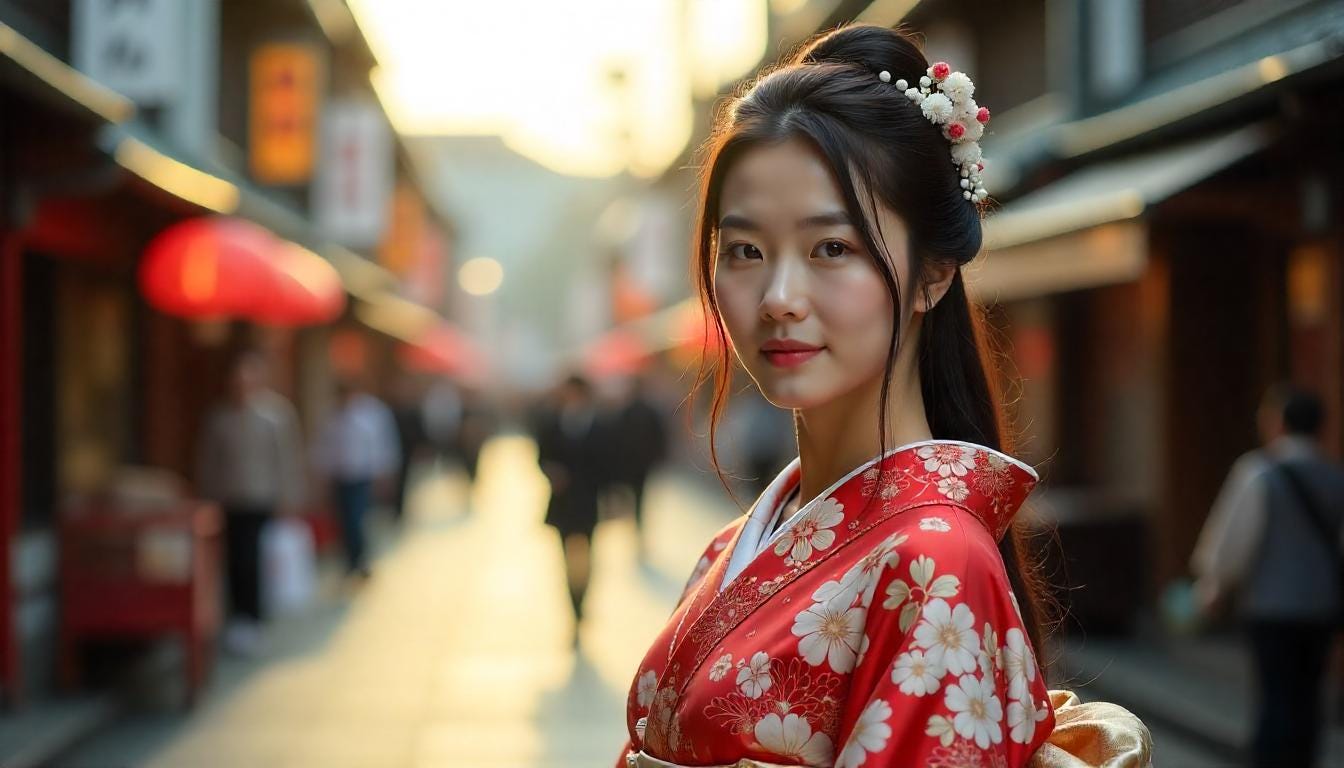
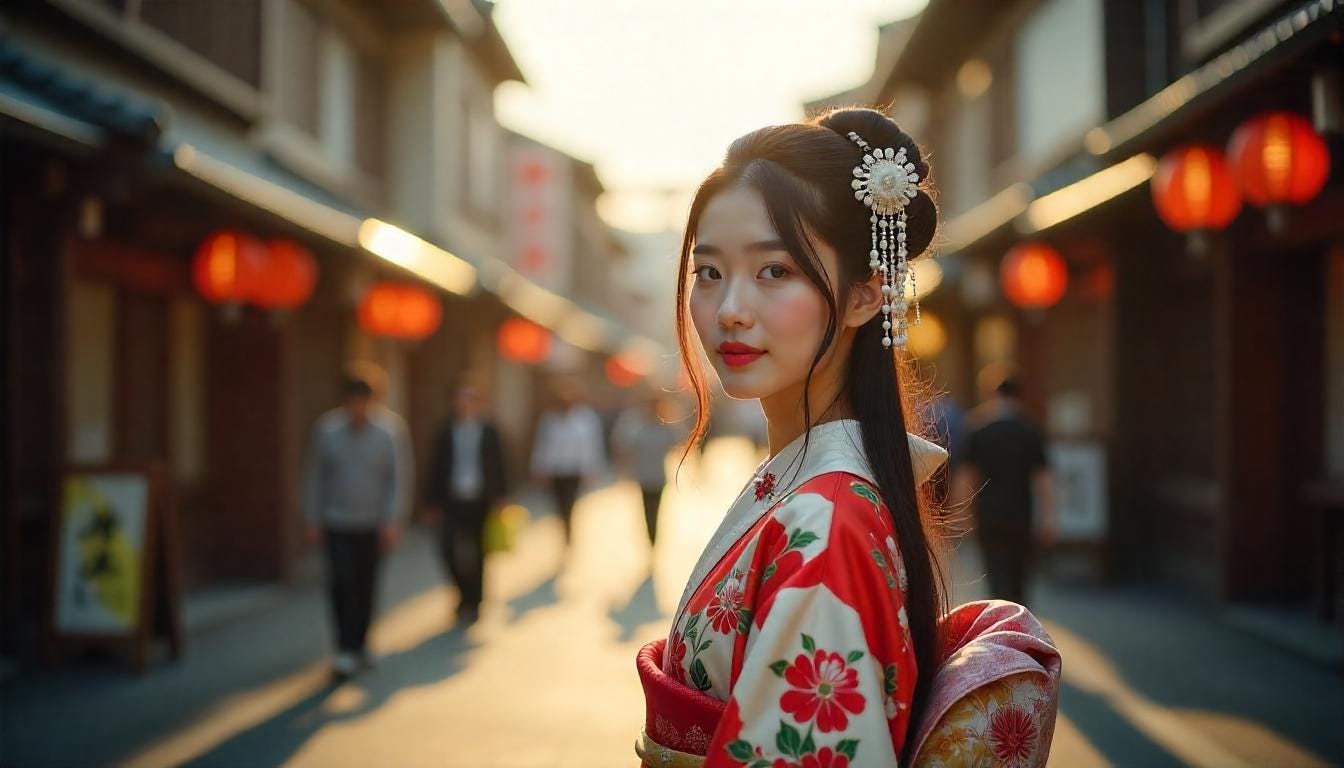
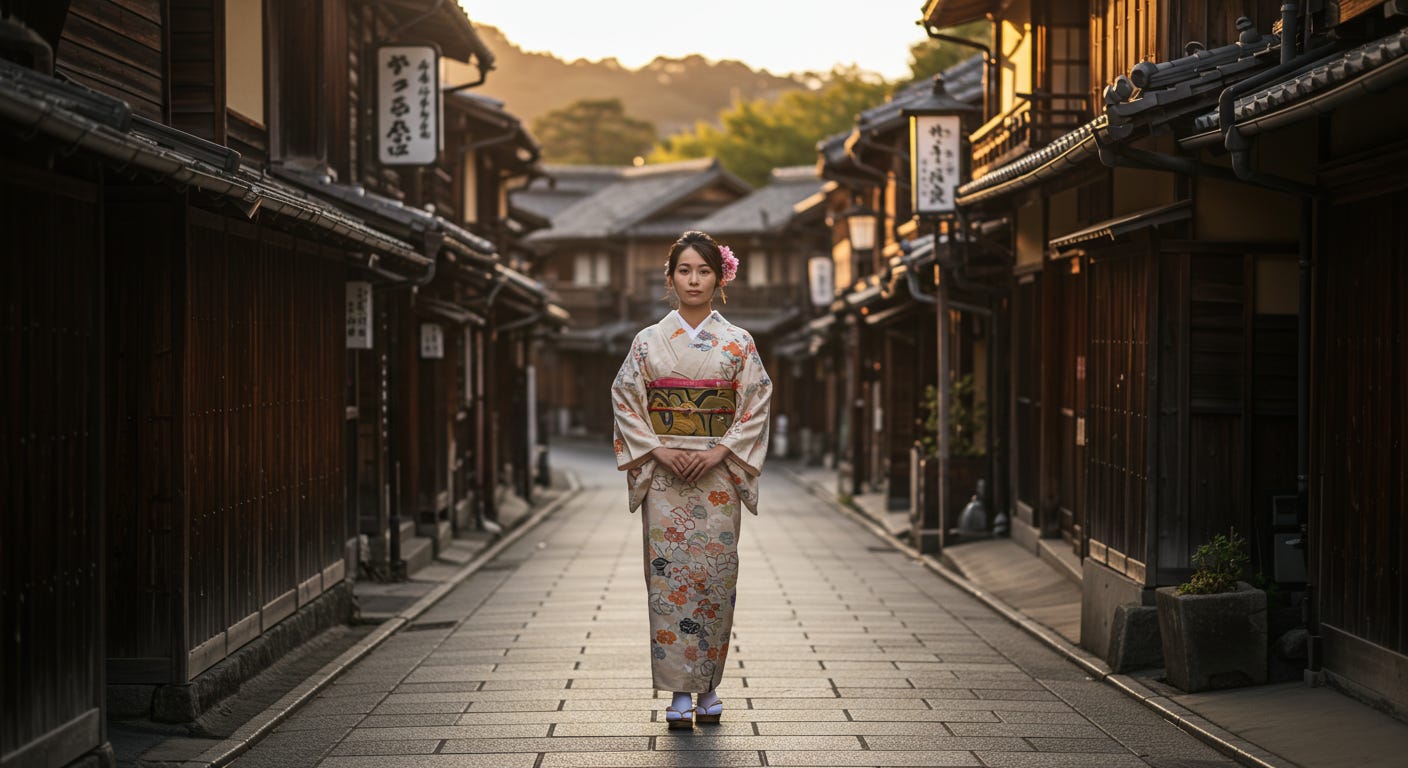
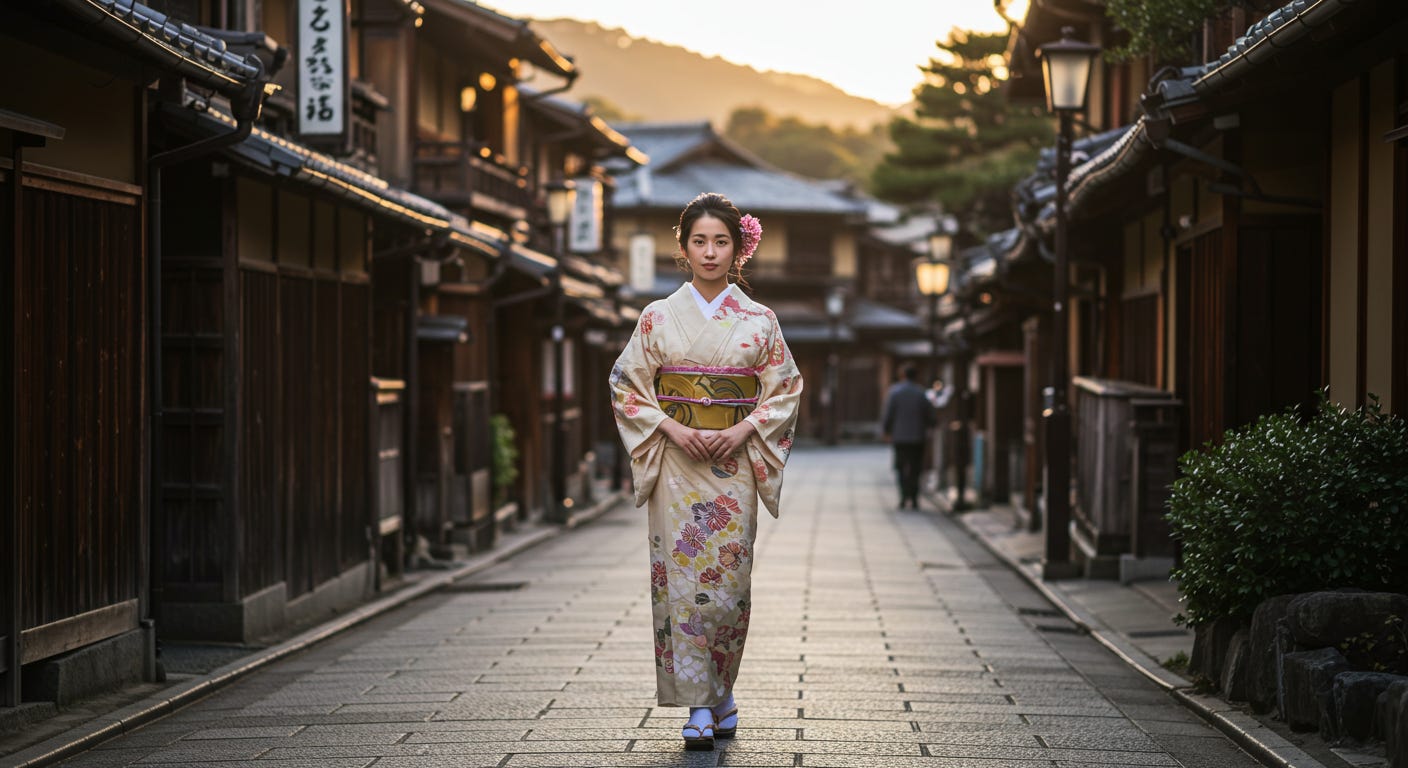
For comparison, I also tried this prompt with Google’s Imagen 3 model.
The results are much more consistent and, also, of a much higher quality.
The realism of this model is incredible (but it’s also 10x more expensive):
As you can see, AI image generation is not yet at a stage where we can unse just one model to get the results we want. This is even more so when it comes to AI video generation platforms.
So you should think of this process in terms of a workflow, where you’ll be most likely using several tools and even platforms in order to get as closest to your creative vision as humanly possible.
In regard to image generation, the workflow for me looks like this:
I use a cheap model experiment and iterate in my prompt. Something like Flux Fast or Flux Schnell, or some flavor of Stable Diffusion are perfect for this.
Once I've locked in the composition I'm after and have a solid prompt, I'll switch to something like Imagen 3. It's definitely more expensive, but the quality and realism you get are top-notch.
Finally, once I’ve got all the first frames I need for the scene, I will use a good image upscaler to get them as sharp as possible. The best ones are Magnific and Topaz’s Gigapixel.
OK, This has been a veeery long issue, and it did take a lot of work for me to create, but I wanted to give you the behind-of-the-scenes of what it really takes to prompt an image model to get the exact framing that you need.
We used Flux here simply because is one of the most commonly used models and, arguably, still the best open-source image generation model available to date.
Other models like Google’s Imagen 3 might provide better results, but they’re also 10 to 20 times more expensive to run!
Also, when you learn how to prompt Flux your prompts will also work with Imagen 3 and most other modern image generation models, so it’s time well spent!
And that’s a wrap!
See you Friday when you’ll learn to use another fundamental tool in the hands of a Director: Camera Angles!
Oh, and don’t forget: practice is extremely important!
Practice your prompt skills trying to generate first frames in as many shot sizes as you can!
Bless,
Leonardo
P. S. Really enjoying Flawlessly Human?
Please take a few moments to support my mission of creating a new generation of storytellers by sharing it with your friends and colleagues: